How to Paint Kitchen Cabinets Like a Pro

Preparing Your Cabinets for Painting
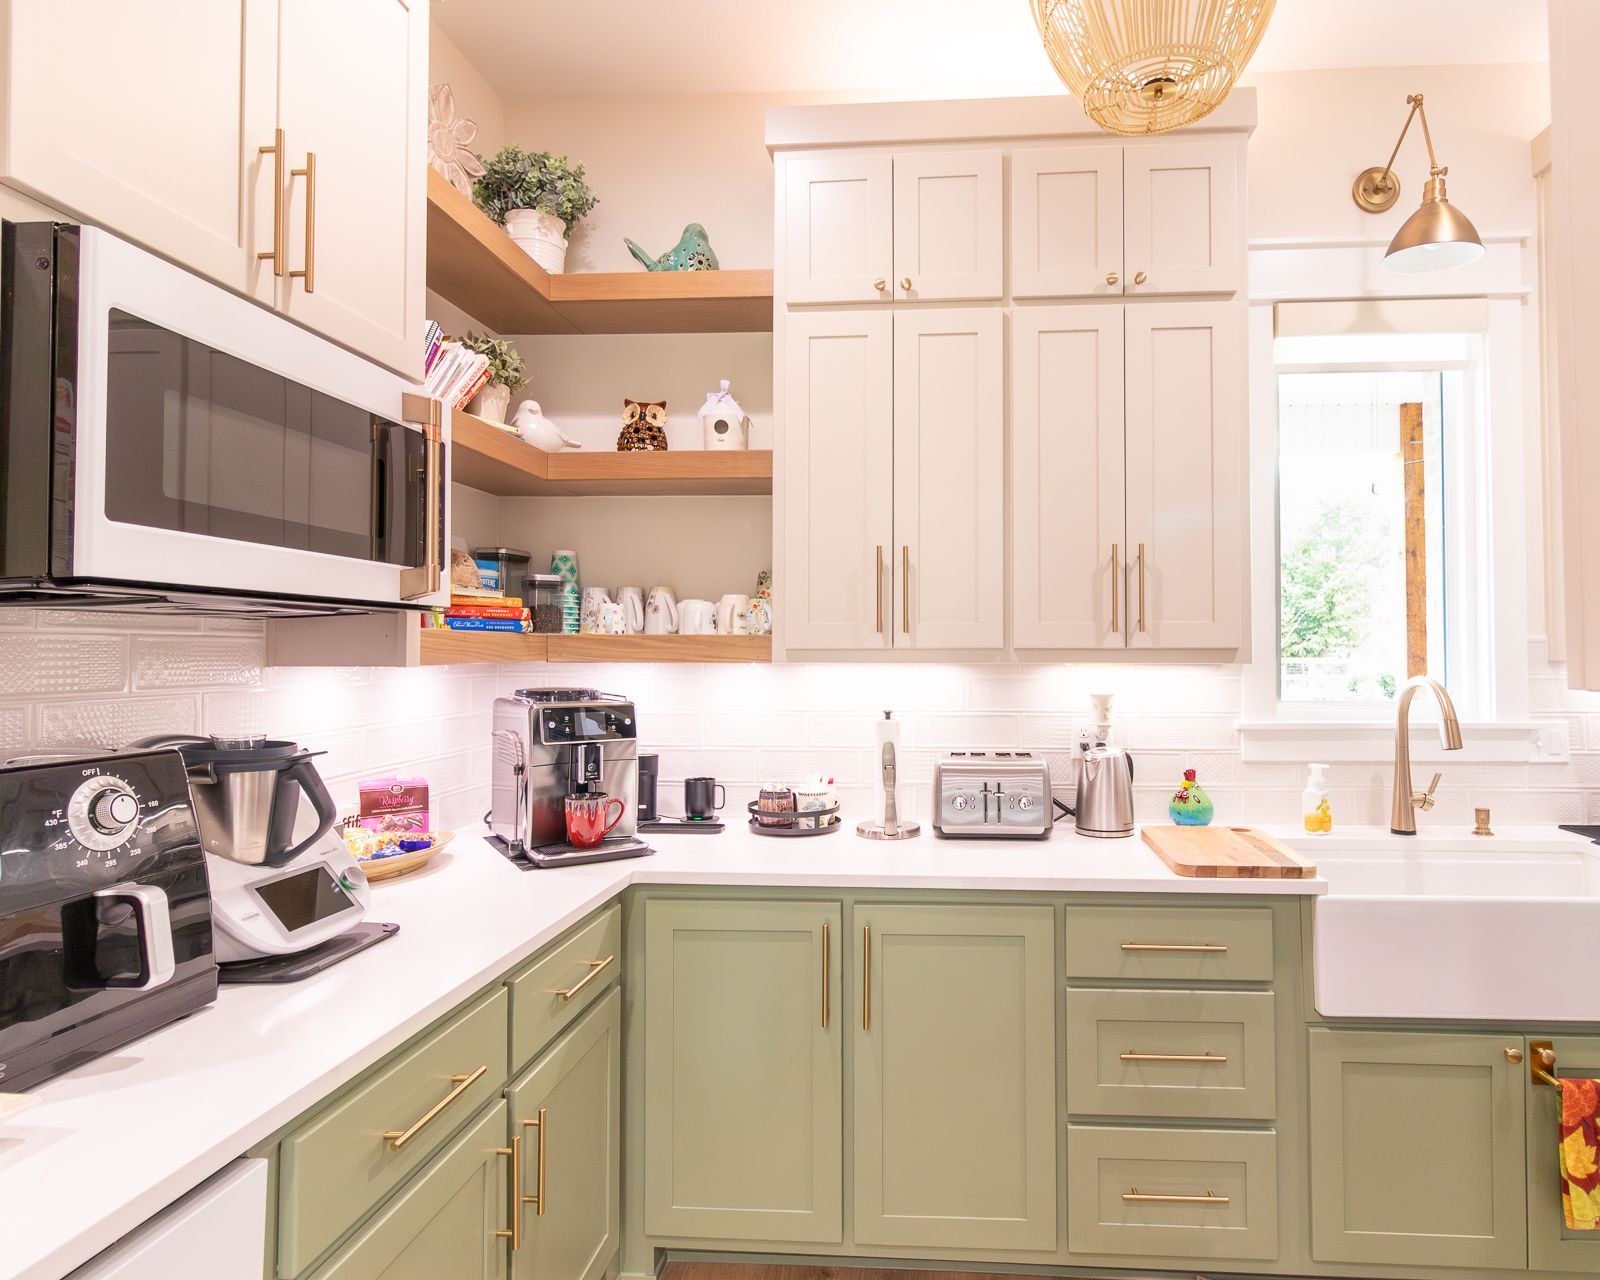
Painting your kitchen cabinets is one of the most cost-effective ways to give your kitchen a fresh, updated look. With the right tools, materials, and techniques, you can achieve a professional finish that will transform your space. In this blog, we'll guide you through the process of painting your kitchen cabinets like a pro, from preparation to the final coat.
Step 1: Gather Your Supplies
Before you start, make sure you have all the necessary supplies:
- Sandpaper (120 and 220 grit)
- Degreaser or TSP (trisodium phosphate)
- Painter’s tape
- Drop cloths
- High-quality paintbrushes and rollers
- Primer
- Paint (choose a durable paint designed for cabinets)
- Screwdriver
- Clean, lint-free cloths
Step 2: Remove Cabinet Doors and Hardware
To achieve a smooth, professional finish, remove all cabinet doors, drawers, and hardware. Label each door and drawer to ensure easy reassembly. Place the hardware in labeled bags so nothing gets lost.
Step 3: Clean and Degrease
Kitchens are prone to grease and grime, which can prevent paint from adhering properly. Clean all surfaces thoroughly with a degreaser or TSP. Rinse with water and allow to dry completely.
Step 4: Sanding
Lightly sand all surfaces with 120-grit sandpaper to remove the glossy finish and create a rough surface for the primer to adhere to. Wipe down the surfaces with a damp cloth to remove dust. Follow up with 220-grit sandpaper for a smoother finish.
Priming and Painting Your Cabinets
Step 5: Apply Primer
Using a high-quality primer is crucial for a long-lasting finish. Apply a coat of primer with a brush or roller, ensuring even coverage. Allow the primer to dry completely, following the manufacturer’s instructions.
Step 6: Sand Again
After the primer is dry, lightly sand the surfaces again with 220-grit sandpaper. This step helps to smooth out any imperfections and provides a better surface for the paint to adhere to. Wipe away any dust with a clean, lint-free cloth.
Step 7: Paint Your Cabinets
Choose a high-quality paint designed for cabinets, such as acrylic latex or enamel. These paints are durable and provide a smooth finish.
Step 8: Apply the First Coat
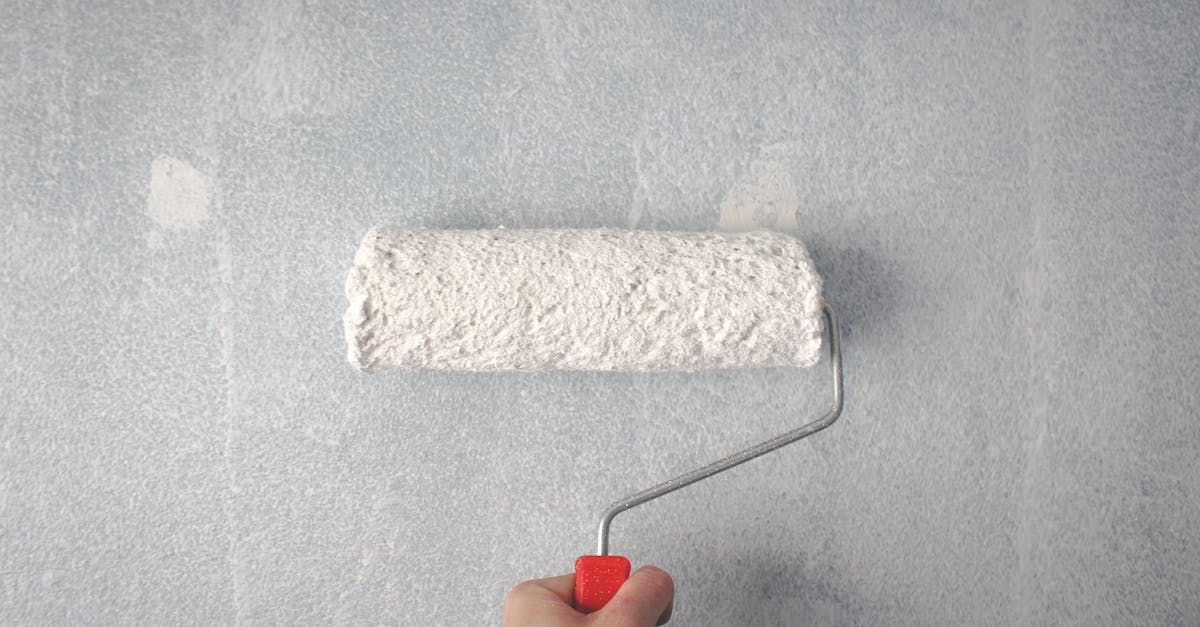
Using a high-quality brush or roller, apply the first coat of paint. Start with the edges and detailed areas, then move to the larger flat surfaces. Use long, even strokes to avoid brush marks and drips. Allow the paint to dry completely.
Step 9: Lightly Sand Between Coats
For the best finish, lightly sand between coats with 220-grit sandpaper. This step helps to smooth out any imperfections and ensures a professional look. Wipe away any dust before applying the next coat.
Step 10: Apply the Second Coat
Apply the second coat of paint using the same technique as the first. This coat should provide full coverage and a smooth finish. Allow the paint to dry completely.
Reassembling Your Cabinets
Step 11: Reattach Doors and Hardware
Once the paint is fully dry and cured, carefully reattach the cabinet doors, drawers, and hardware. Make sure everything is securely fastened and properly aligned.
Step 12: Touch Up and Clean Up
Inspect your work for any touch-ups that may be needed. Use a small brush to fix any imperfections. Clean up your workspace and enjoy your newly painted cabinets!
Painting your kitchen cabinets like a pro requires careful preparation, attention to detail, and patience. By following these steps, you can achieve a beautiful, durable finish that will breathe new life into your kitchen. With a little effort and the right techniques, your cabinets can look like they were done by a professional painter.